Reviving the blog. Migration from Wordpress to Jekyll

History of my blog and my writing motivation
If you’re looking for the technical part of this post, please scroll down to the “Technical” section.
This blog has been with me for almost a decade, however, if you glance at the timestamps on this blog, you’ll notice that I haven’t written for a few years. I’ve recently cleaned up the oldest posts, but nevertheless, it still reflects my career path, and I thought it would be nice to bring it back to life. Ten years ago, I saw it as a sort of self-hosted Facebook page where I wrote about my trips and other adventures. Later, it became a way to motivate the team at the company where I was a director/owner, and served as my personal representation to external business partners or potential employees. Years passed, I moved to Germany, and you can imagine I got caught up with all sorts of work-related topics as well as establishing my life here. Some time later, I switched my blog to the English language and started challenging myself, setting goals for how many posts I should write, how many visitors I should acquire, and how much I should earn from the blog. It was fun; we even had a competition with my colleague. However, about five years ago, I had an important transitional year when I first became a father and later a freelancer. Both of these meant that there was no room for a blog anymore.
Now, after many years, I want to resurrect my blog for a few reasons. The first is that I have so many interesting things happening in my life that I want to share, not only in the form of Twitter jokes and chats with friends over a drink. The second is that I feel I’ve managed to balance my life well enough to have time for work, family, business, music, friends, and even occasional sports—why not add a splash of blogging here? And the third is that I remember the nice feeling of putting your thoughts onto “paper,” proofreading them, refining the structure of your text, and then shaping your thoughts like a sculpture.
This time, I won’t be challenging myself, so don’t be surprised if I disappear for months again. I want this to be just a cozy place for myself where I can write down some learnings, mistakes, or achievements that I want to share and also store in history for myself.
I will try to keep this blog mostly professional, so don’t expect my reviews on recently read books (btw, from my recent reads: Liu Cixin’s ‘The Three Body Problem’ is overly-intertwined and contrived, Dostoevsky’s ‘Crime and Punishment’ is amazingly atmospheric and dark, Philip K. Dick’s ‘Ubik’ goes from wow, to silly, then “no waaay”, and back to wow). Instead, expect some coding topics, thoughts on architecture, SRE intricacies, and so on. Now, let’s move on to the technical beef!
Technical chapter
History of the Blog’s Architecture
The Architecture of the Blog—sounds quite serious, almost as if I were discussing a banking app, right? Yet, while a blog might just be HTML pages filled with text, mine has undergone several transformations. Let me walk you through its evolution from the past to the present.
2014: I launched my blog on wordpress.com using a free template. My choice was driven by the desire for a platform that was simple yet flexible and affordable. I don’t recall the exact prices, but they were certainly negligible for the “scale” I was operating at back then.
2018: By 2018, I had developed an interest in what has later become my SRE role. Transitioning from writing client-side code to focusing on infrastructure and platform seemed like a challenging yet interesting step, and what better place to start than with what I already had? Thus, I migrated from the managed environment of wordpress.com to a self-hosted WordPress installation. The setup was straightforward: an RDS, a cost-effective EC2 instance, and voilà.
Present: Upon deciding to revive my blog, I could have continued using the existing setup, but several factors prompted a change. First, my WordPress installation was significantly outdated—I hadn’t performed updates in years, risking numerous potential vulnerabilities. Second, while still relatively inexpensive, maintaining this infrastructure was an unnecessary expense given today’s tools. Third, considering a blog’s inherent simplicity, I aimed to streamline the setup as much as possible. Therefore now it resides on …🥁… GitHub Pages.
The migration process
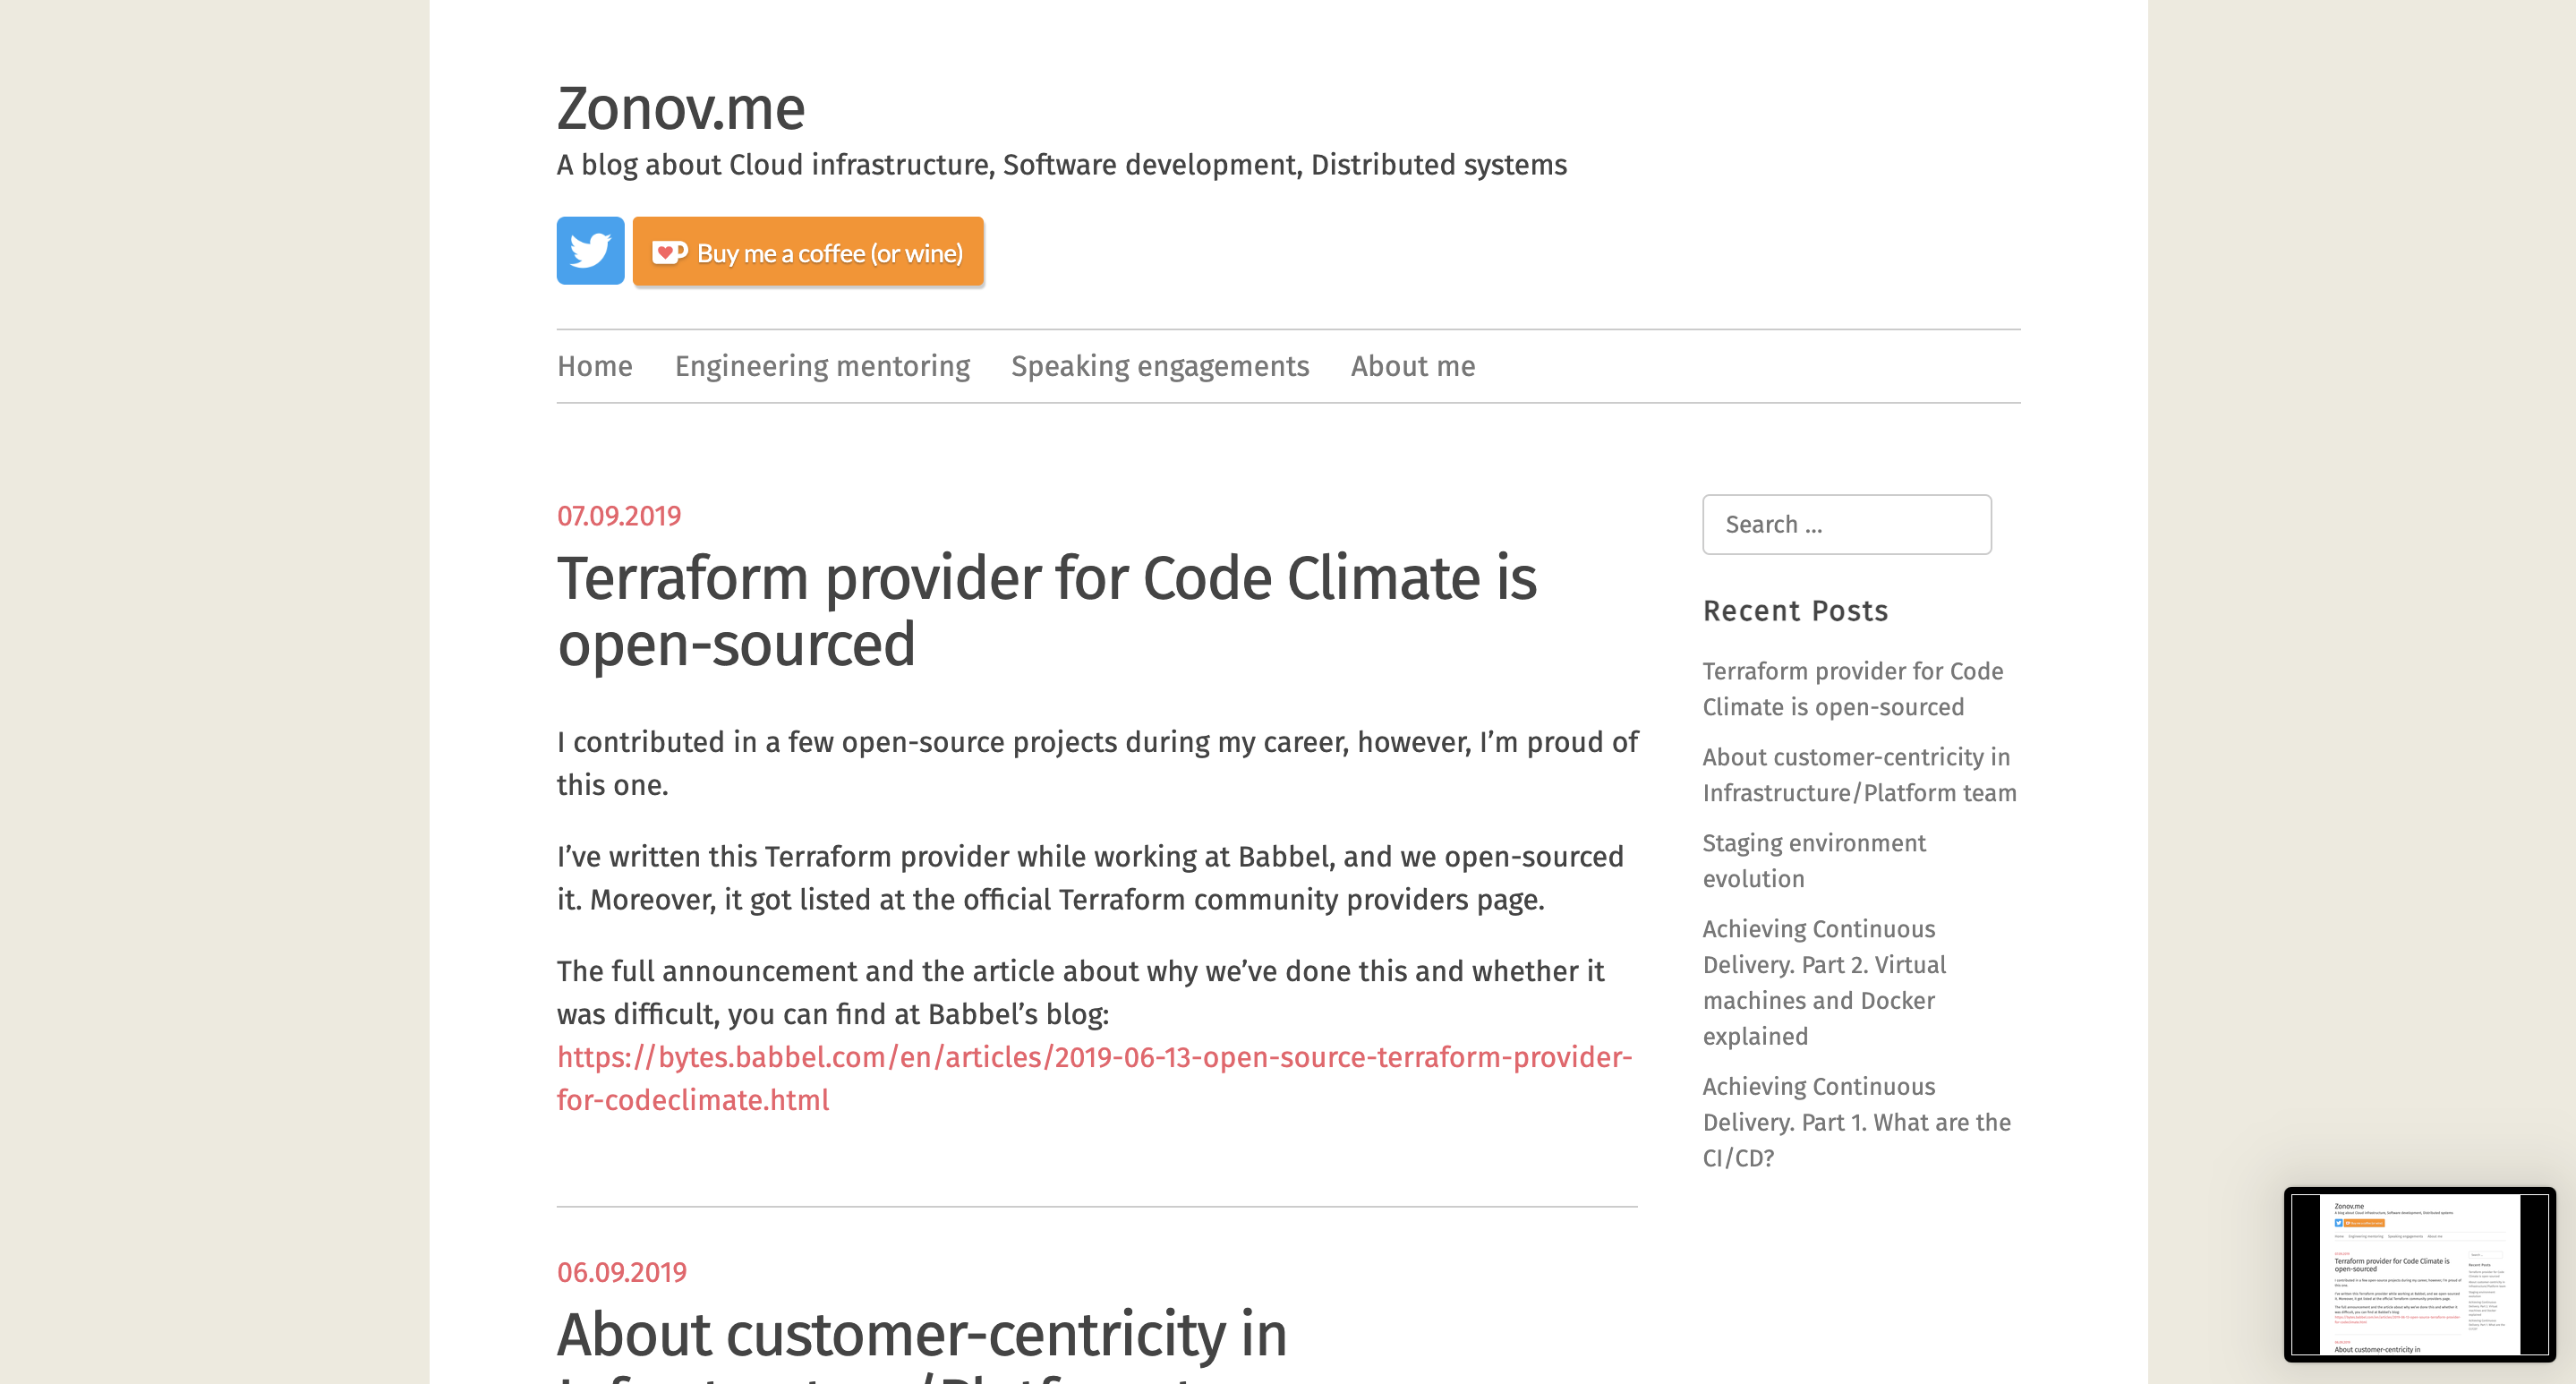
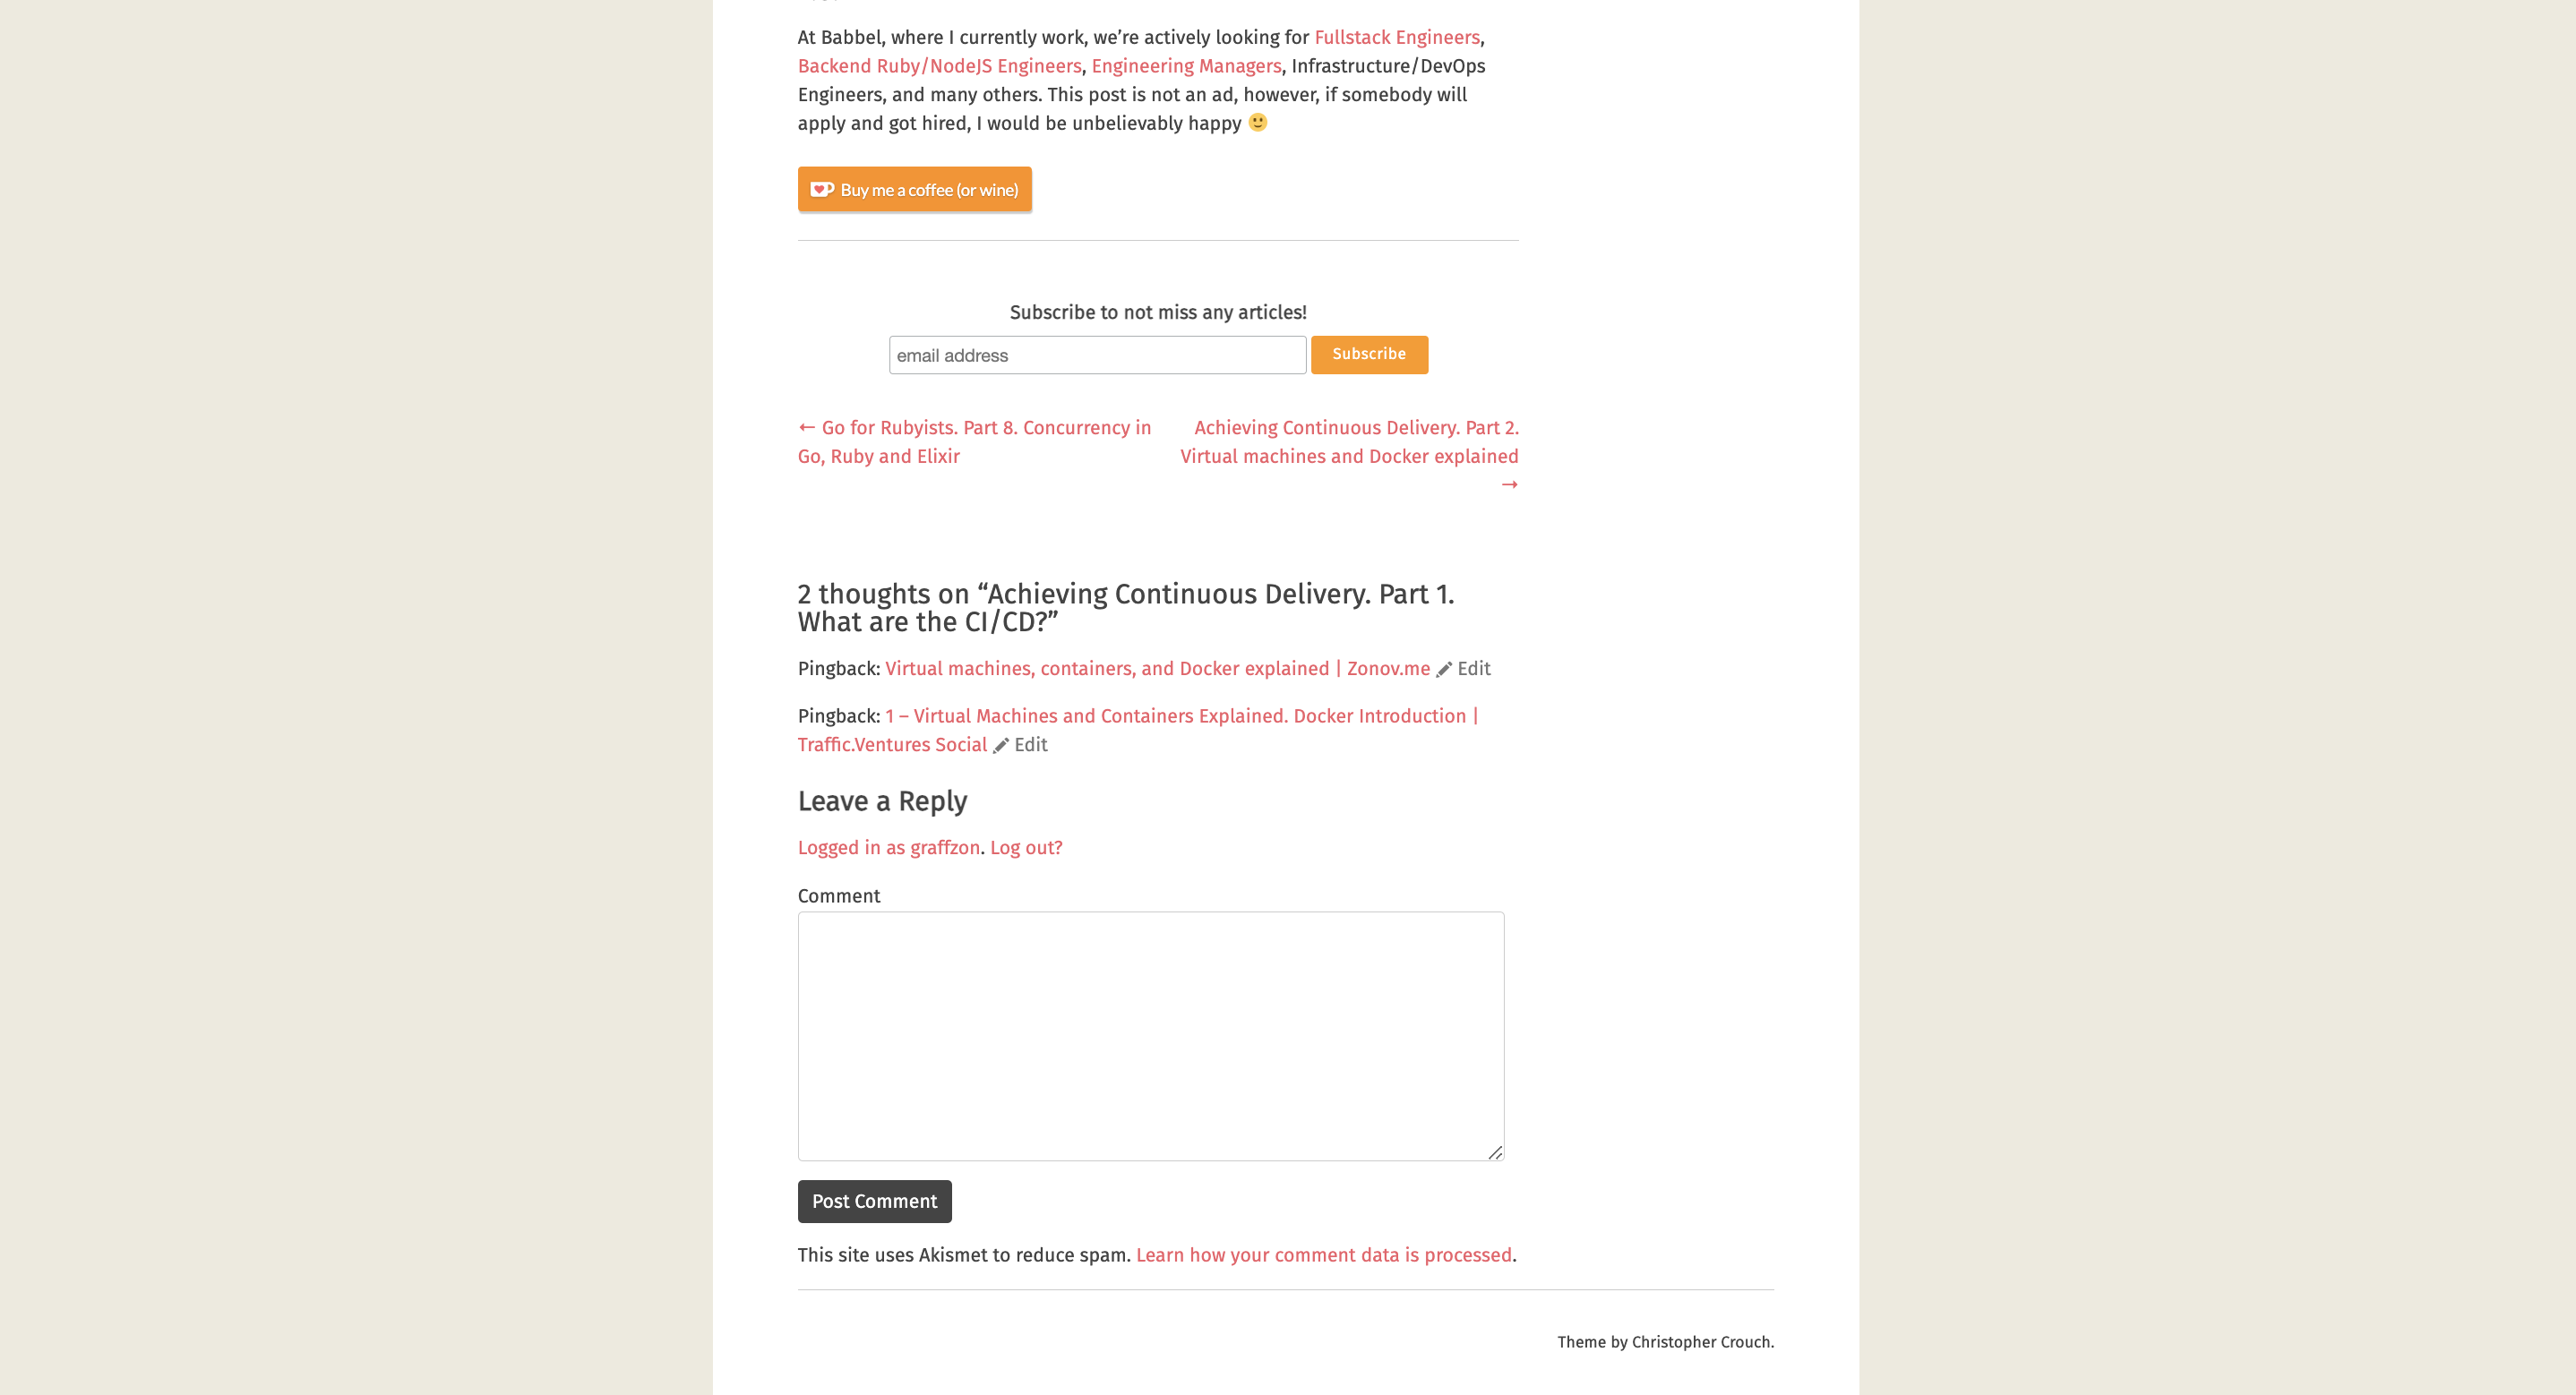
Let’s begin with the Before/After pictures. They seem to compare nothing more than a design, yet I feel they represent not only the overall aesthetic but also the structural changes the blog has undergone.
So, behold the Before:


You are obviously observing the “After” right now, so no screenshots are necessary. As you can see, the new visual style is more simplified, adheres to a darker theme, and overall, looks slick.
1. Export
If you’re migrating from WordPress to Jekyll, the first thing you need to do is export your old data. You don’t want to manually copy and paste everything, do you? Thankfully, it’s straightforward on WordPress; a single button does the trick:

This will provide you with a massive XML file that you don’t really need to open and peruse yourself. There are tools that can assist you with this. But before that, let’s set the groundwork.
2. Installing and preparing Jekyll
Jekyll is a Ruby gem, so you should have your Ruby environment already set up. I’ll skip this part, but if you’re using my post as a guide, I recommend using asdf or rbenv to install the latest Ruby version.
Having already installed Ruby, all I had to do was execute: gem install jekyll
Next, you initialize a new project: jekyll new zonov.me
It’s been quite straightforward so far, but I thought the process would be more challenging. Maybe there are more hurdles ahead? Let’s find out!
3. Preparing the Jekyll importer
Once you’ve laid the groundwork for your Jekyll blog, it’s time to populate it with content. I didn’t want to manually copy and paste my content, which consists of dozens of blog posts with formatting and images. I was prepared to dust off my Nokogiri/parsing skills, but luckily, some great minds have already developed a tool to aid us WordPress→Jekyll migrators. There’s a gem called jekyll-import that works wonders! You’ll need a few additional gems too, so here’s my import-related Gemfile at the end of the installation process:
# Needed to import Wordpress data
gem "safe_yaml"
gem "sequel"
gem "unidecode"
gem "hpricot"
gem "jekyll-import"
gem "open_uri_redirections"
4. Importing the content
This section could potentially contain just one command:
bundle exec jekyll-import wordpressdotcom --source ~/Downloads/zonovme.WordPress.2024-03-13.xml
It’s that simple.
After this, you can already load the website: bundle exec jekyll serve. You should be able to see your imported content. It worked for me right out of the gate, which was a pleasant surprise.
However, there was still more work to be done.
5. Prettifying the blog and its content
The default theme you’ll see is very minimalistic. You might be satisfied with it, but I wanted to spruce it up a bit. There is a myriad of themes to choose from, both sophisticated (requiring a small fee) and free-to-use. As reducing costs was a primary goal of this migration, I opted for a free option.
I found a very attractive and convenient theme: https://github.com/brianmaierjr/long-haul
It didn’t work right off the bat, giving me a cryptic error. Unfortunately, I had to spend some time researching and discovered it was due to the Ruby version. The theme required an older version, so I downgraded to 2.6.3, and then everything worked smoothly.
As the next step, if you’re following my guide, you’ll notice that some of your formatting has been disrupted. Instead of manually fixing each one, I performed a few semi-automated steps to get everything in order.
First, it’s nice to reformat your pages from html to markdown. It’s more of a preference, but I find Markdown more convenient for blogging. Here’s my bash “script” for performing the renaming:
for file in *.html; do
    mv -- "$file" "${file%.html}.markdown"
done
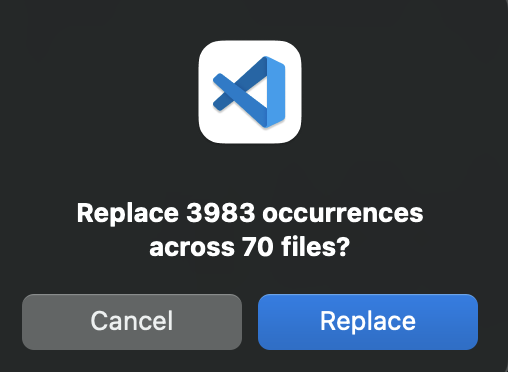
Now that our interpreter knows what to expect from the pages, it’s time to convert from html to markdown. I believe there are utilities for this, but even if your page extension says “html”, the files aren’t pure HTML; they’re more like HTML embedded in Markdown. Thus, I believe it’s easier to perform these operations semi-automatically than fully automatically. I went ahead and issued the following search and replace command in my VSCode.


There were a few more changes related to images and code blocks that I forgot to capture screenshots of :) But you get the idea of the process.
Lastly, I wanted a nice favicon, which I’d never had before. But luckily, nowadays, you can use Dall-e to generate a PNG and then convert it with https://convertio.co/
6. Deploying to Github Pages
Github Pages provides extensive documentation, making everything straightforward. Jekyll is already a supported workflow, so when setting up your deployment pipeline, you simply need to select the ready-to-use Deploy Jekyll site to Pages workflow, and the magic of automation takes over.
If I recall correctly, the only code-wise change I had to make was to update the Ruby version in my workflow file. You can check it out here.
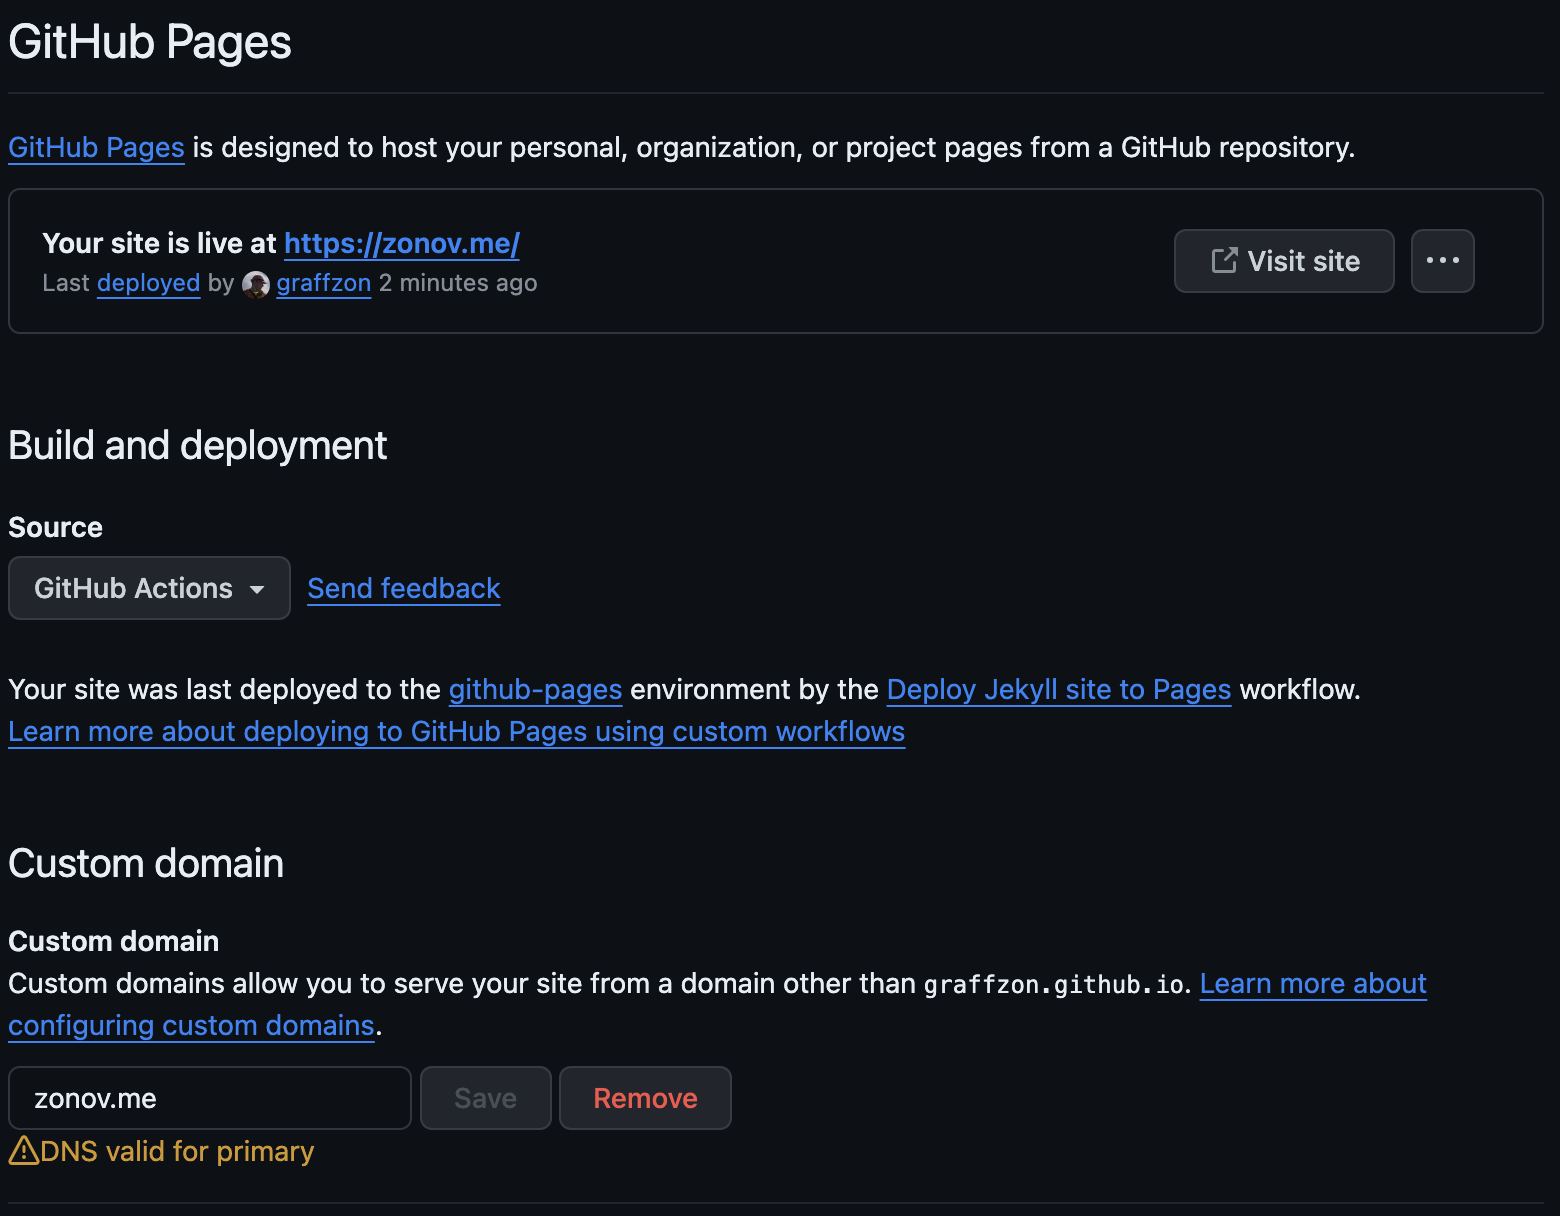
Here’s the final screen of the Github Pages tab:

With this I now have my blog running on the free Github Pages with the fully automated deployment workflow in just a few hours of work, I count it as an easy win :)
Conclusion
This post is a blend of my motivation behind resurrecting the blog and some technical details. I hope you found it entertaining and perhaps even useful. Stay safe and creative!